How to Make Latte Art with Good Hemp Barista Seed Milk
Rich has served us some of the best coffee on the mornings when we need it most. When we perfected our Good Hemp Barista Milk, we knew there was only one person that could help us turn it into art…
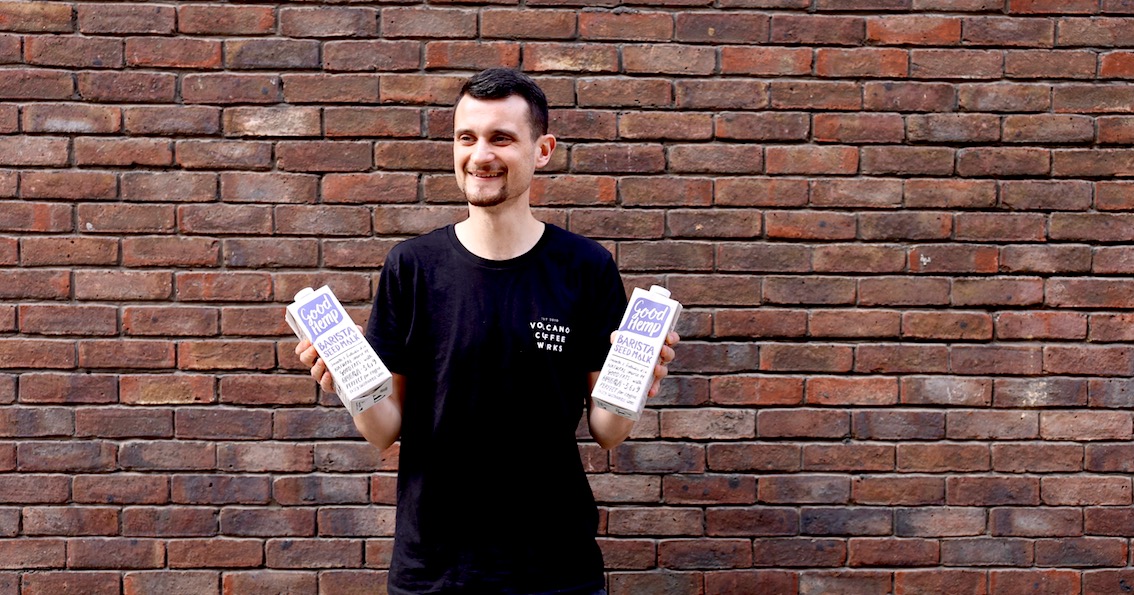
Rich was around 13 years old when he first served coffee. “It was probably from one of those Nescafé cappuccino sachets and just for a friend,” he says, “but I’ve always loved serving people ever since.” Now Rich is a barista at Volcano Works Coffee, where it’s definitely less sachets and powdered milk, more premium coffee beans and plant milks. But the passion to learn new things is still there.
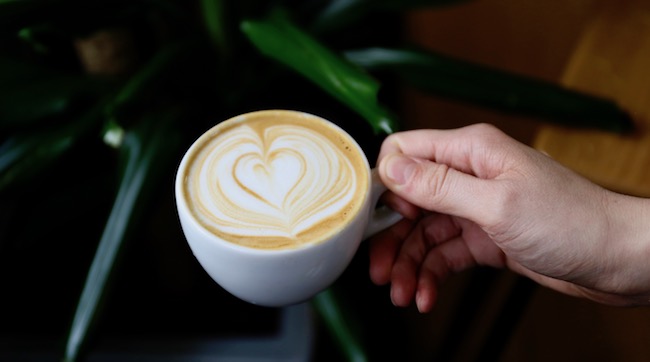
After weeks testing and trialling our Good Hemp Barista Seed Milk, we knew it was smooth and frothable with a great taste. The final test was making latte art, and we knew Rich was our man. After a whole host of coffees topped with hearts, Rich identified two main differences between hemp milk and dairy when making latte art.
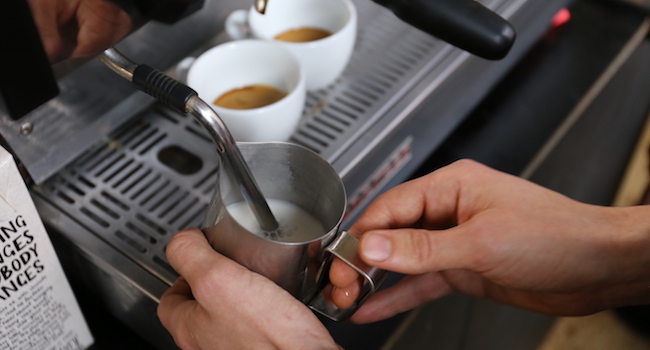
Firstly, it’s in the stretching. For those of you that don’t know, stretching is introducing air into the milk in order to get it to foam (aka the heating process). For hemp milk, air gets in quicker, meaning it doesn’t need to be stretched as much as other milks. Secondly, the bubbles in hemp milk’s micro-foam are a tiny bit bigger, meaning fine movements from the wrist won’t work here. In what we’ve now coined The Rich Method, baristas must grip the pitcher with their thumb and forefinger (rather than the handle) and make smooth, larger movements from the elbow.
Want to give it a try? Follow Rich’s step by step guide on making latte art with hemp milk.
Step One: Stretching
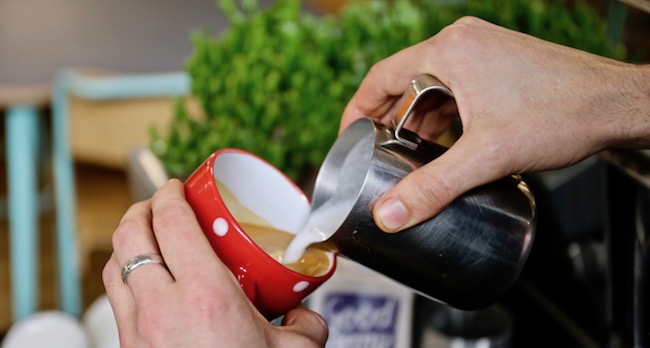
Purge (aka clean) the wand by turning on the steamer and allowing some fresh steam through for 1-2 seconds. Pour your Good Hemp Barista Milk into a clean pitcher, roughly half full. To prepare to stretch the hemp milk, lift your pitcher up to the steam wand and put it in deeper than you normally would for dairy.
Step Two: Whirlpooling
Turn on the steamer and whirlpool it like any other milk. You should have a smooth, plush microfoam (that’s the steamed milk made up of lots of tiny bubbles). When the bottom of the pitcher gets too hot to touch, take it off and turn off the steam wand. Wipe it down with a damp cloth and purge again. Tap the pitcher on the counter to get rid of any bubbles.
Step Three: Pouring
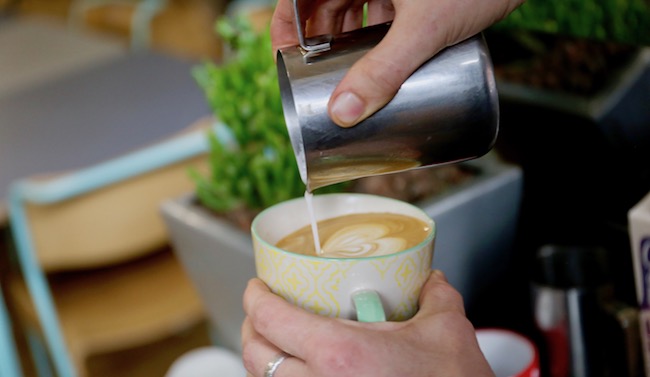
Hemp milk creates slightly larger bubbles in the microfoam, therefore creating latte art with your frothed hemp milk requires a different grip. Instead of holding the pitcher on the handle, and creating your art with fine movements, grip the body of the pitcher with your thumb and forefinger, making large movements from your elbow (rather than the wrist). Hold the cup in the air with your non-dominant hand, titling it around 20 degrees towards the pitcher in your other hand. Pour the hemp milk into the centre of the cup in a circular motion until it’s about halfway full, gently moving the pitcher closer to the espresso as you go.
Step Four: Designing
Once the pitcher touches the cup, pour a bit more milk into the top and you will see a circle of white foam form. At this point, start moving the pitcher side to side in a wiggling motion (from the elbow) and continue to pour into the circle. When the circle is big enough, lift the pitcher and pull the milk through the heart to make the tail. Voila! Your hemp heart latte art. (Don’t forget to tag us on Instagram.)